Hello lovelies, I created this purple glittery eye look which is perfect for New Years Eve. This is more like a festive holiday look. I used several different eye shadows to achieve this look and some glitter. Lets get started.
Step 1: Prep and prime your eyelids. I used L'Oreal Studio Secrets primer for this.
Step 2: Using a concealer cancel out the uneven tone. I used colorbar concealer in a jar in the shade creamy nude for this step
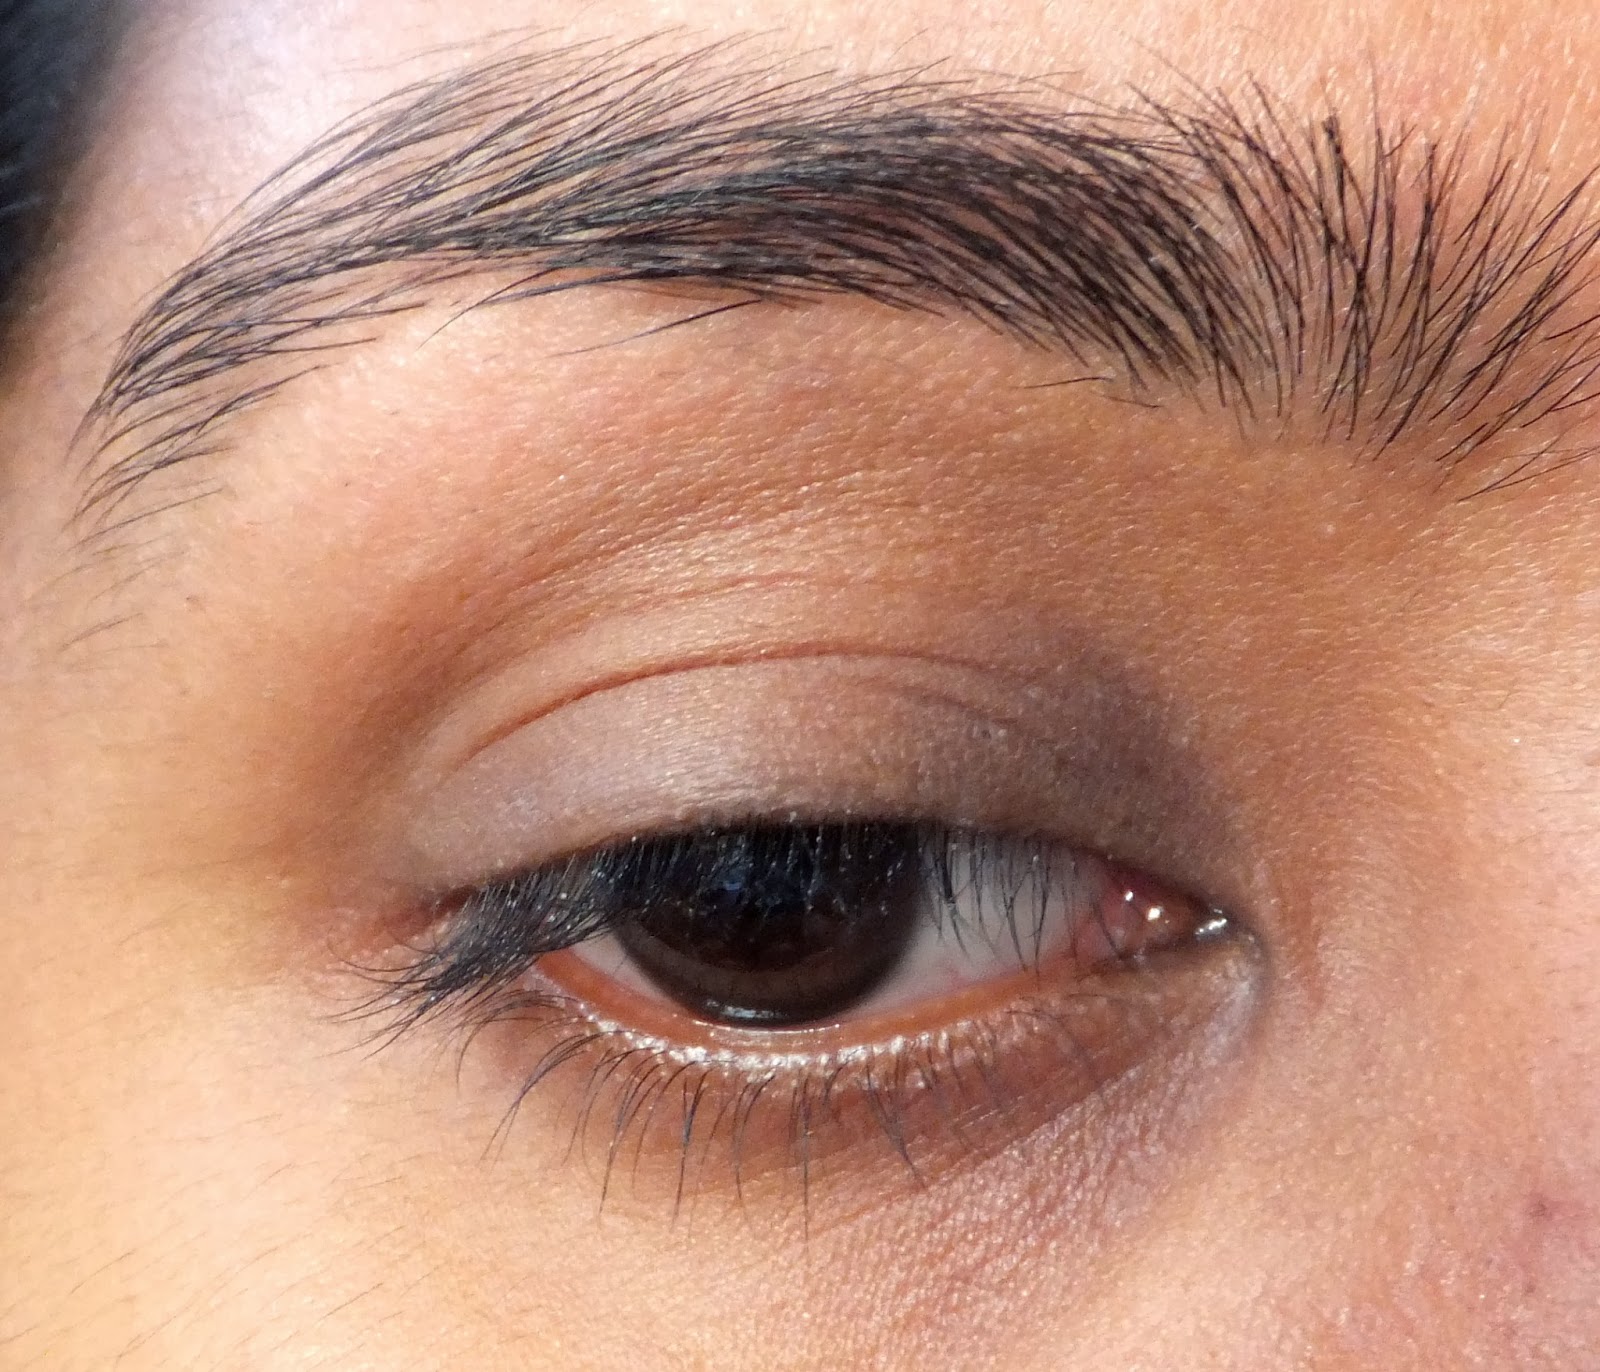
Step 3: Apply a light lilac color on the inner one third of your eye lid.
Step 4: Take a light purple colour and blend it using a blending brush into your outer one third and in to your crease
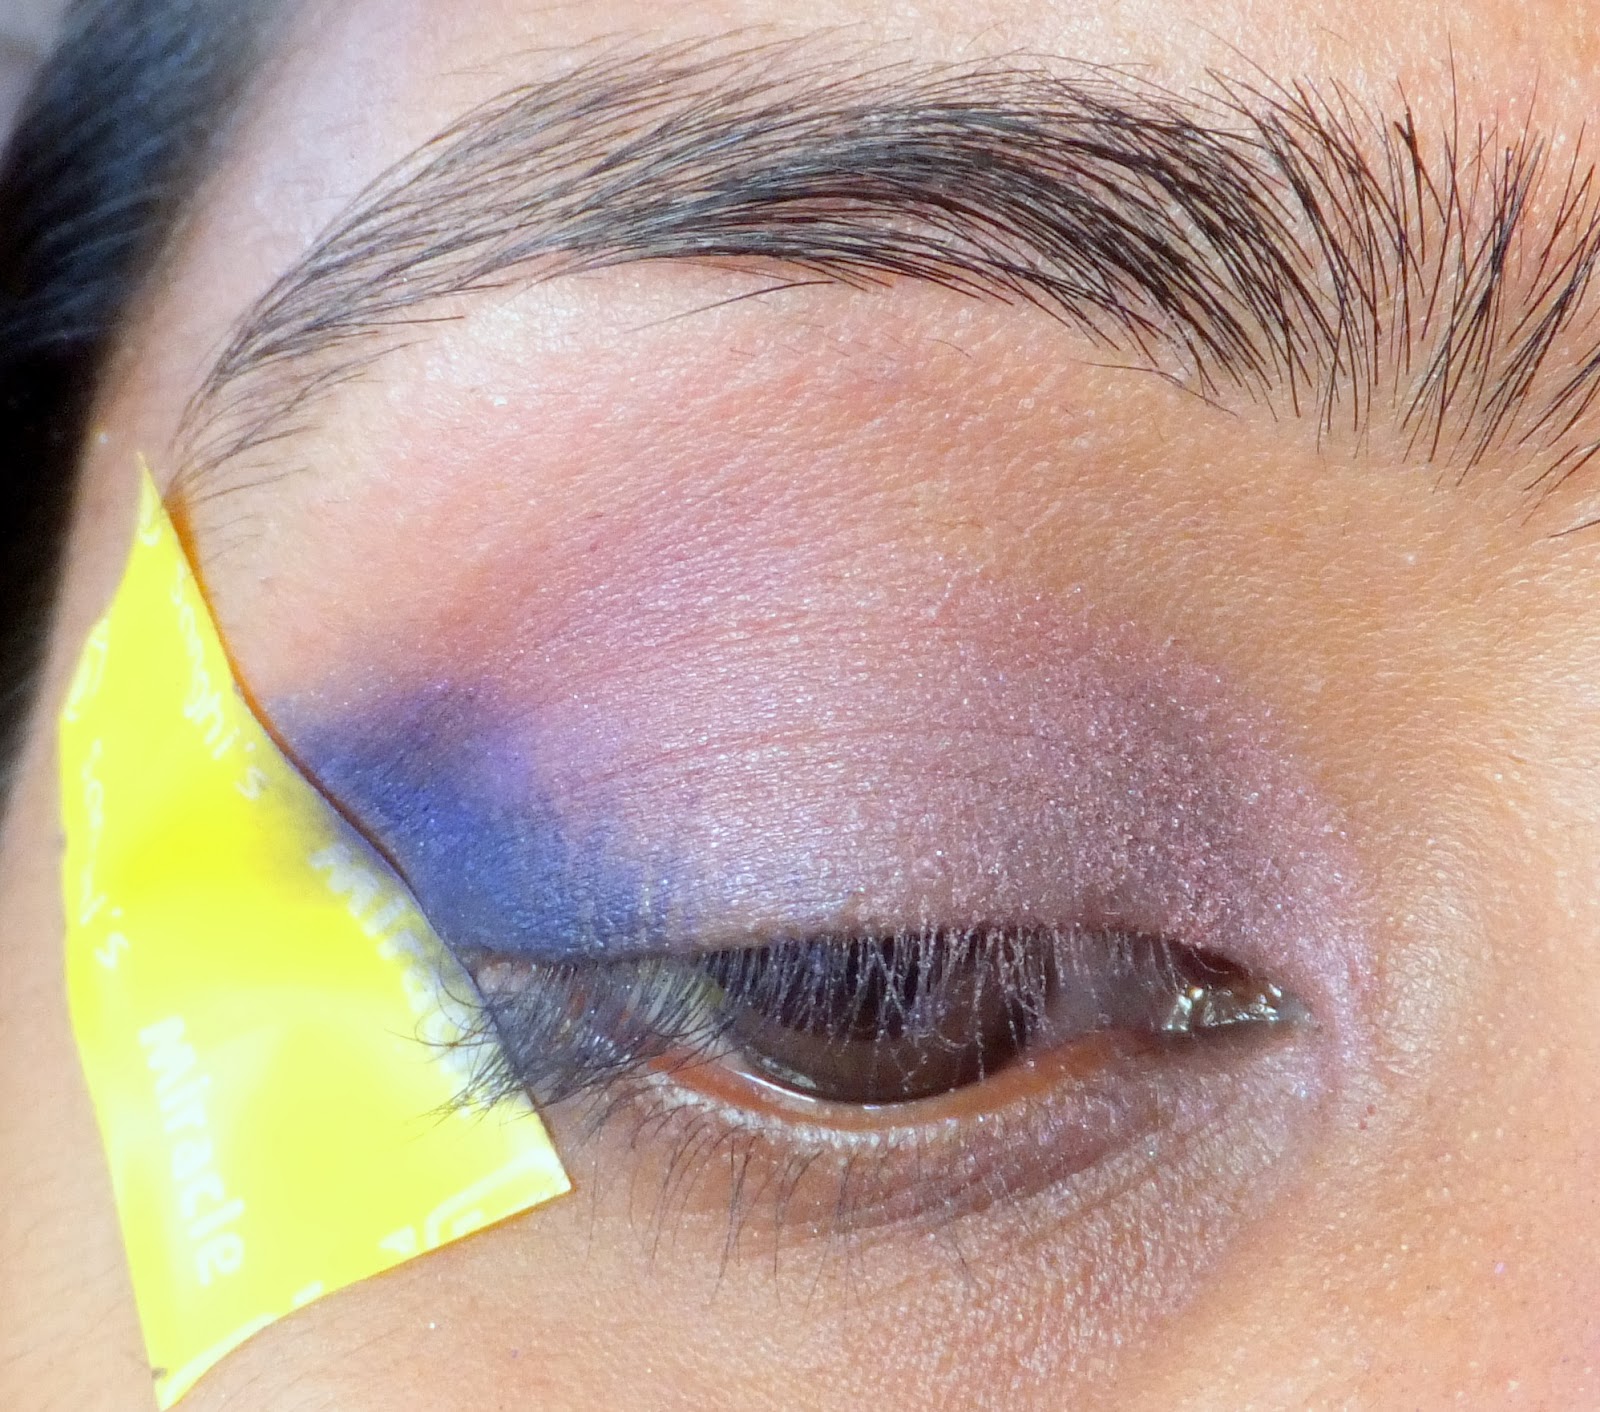
Step 5: Use a tape in your outer edges for a easy cat eye look
Step 6: Taking a navy blue color apply it to your outer v. and blend to attain a seamless transition
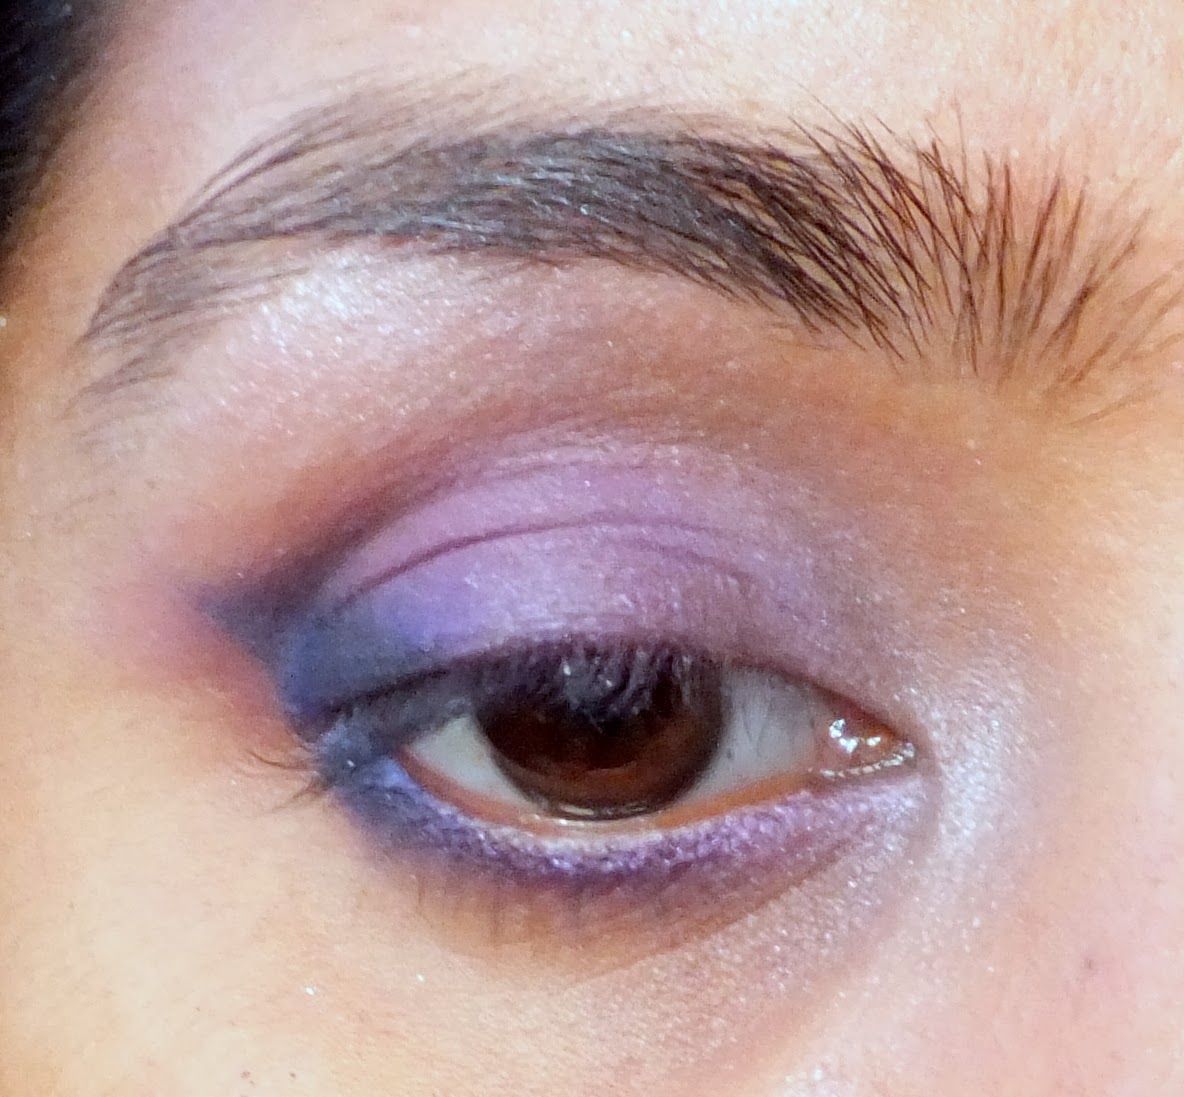
Step 7: Apply a matte black color in the outer corner and a rich purple color in the center of the lid. Blend for transition.
Step 7: Taking a slanted eyeliner brush follow the same color pattern in the lower lash line.
Step 8: Apply a highlighting color to your brown bone and your inner corner.
Step 9: Apply some glitter on your eyelid leaving the outer corner.
Step 10: Fill in your brows. This is the most important step in any eye makeup which we tend to ignore.
Step 11: I lined my lower lash line using a white eyeliner pencil.
Step 12: Line your upper lash line staying close to the lash line and slightly winging it at the outer edge.
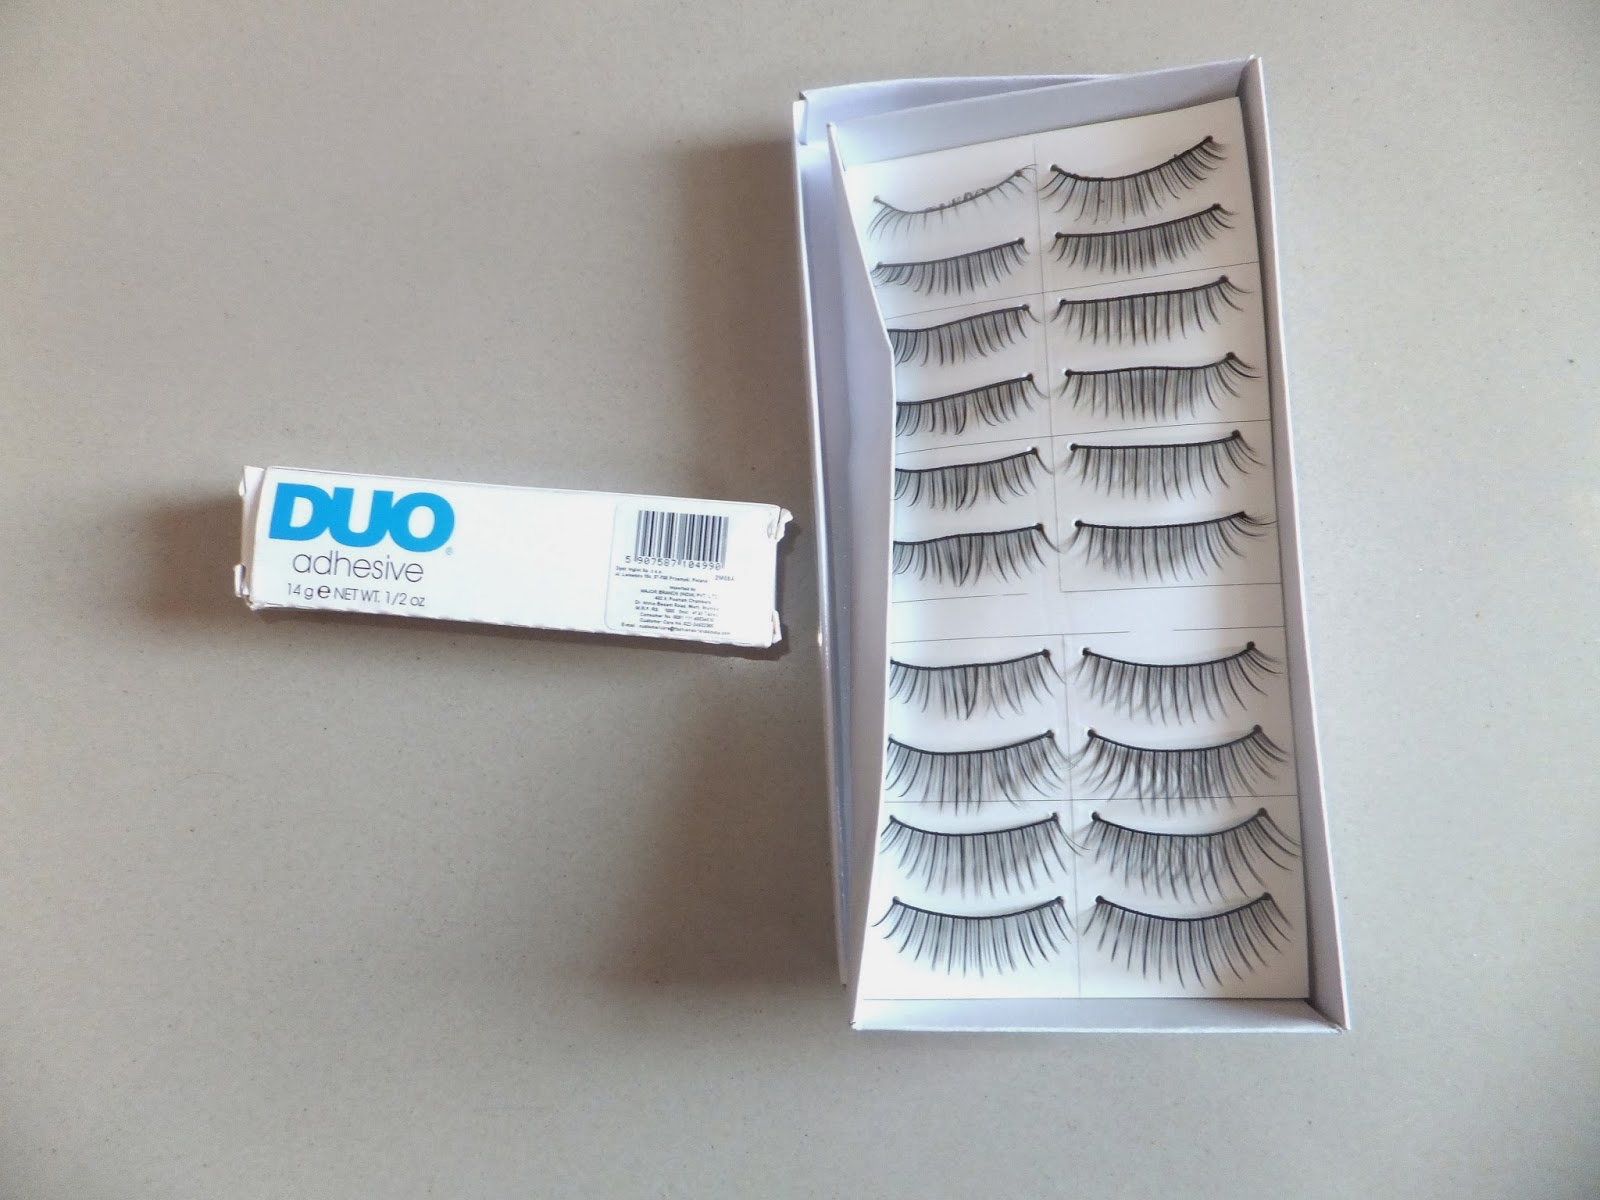
Step 13: Apply false lashes and mascara.
Step 14: Since it is party look I added a star with eyeshadow and also intensified the eye shadows by touching it up once again.
Before and after.
Other angles and Bla Bla Bla!!!
I hope you like this.
Love,
Mounika Roches.
Foundation is the important part of any makeup and application of foundation makes huge difference too. Stippling brushes, pointed foundation brushes, kabuki brushes and fingers, if you tried it all and are still not happy with the results then a sponge might be a very good alternative.
You can use a sponge for that flawless finish. There are several sponges that are available in the market. Beauty blender was a huge success this year but that sponge costs around 20$ which was a little expensive for a sponge. With in months there were many dupes available in the market which were quite good but not as good as the beauty blender. Every one who are interested in makeup know the Chapman sisters and their brushes line called Real Techniques. These brushes are the best brushes even when compared to Sigma and Mac. There is no negative point in these brushes ever noticed or said by any YouTuber and blogger. We can also see that almost every makeup guru out there uses this brushes making them highly used brushes in the market. They launched this sponge and named it miracle complexion sponge. I read a lot of reviews which said this sponge is better than the beauty blender.
What Samantha Chapman say about this sponge:
Optimize your beauty routine with this 3-in-1 multi-functional sponge.

- Rounded sides blend large areas of the face with a repeated dabbing or “stippling” motion.
- Precision tip covers blemishes and imperfections.
- Flat edge for the contours around the eyes and nose.
Its versatile design evenly blends makeup for a smooth, enhanced finish.
Price: 6.00 $
My take on this sponge:
According to me this is the miracle complexion sponge. The sponge is amazing when it comes to foundation application. On my lazy days I tend to use this sponge for foundation,concealer, powder and blush. The brush is in a bright orange color which is really attractive unlike other sponges it has three different surfaces like a flat side, a rounded side and a pointed side. You can use the pointed side to cover up individual blemishes and you can reach the inner corner of your eyes while applying concealer. The flat side is perfect for powder, foundation and blush applications. The round side is used for blending large areas. You can use the sponge wet or dry according to your comfort levels. I prefer to use it damp, I wet the sponge under running water and squeeze the sponge so that all the extra water is removed. I then dip it in product and start applying.
I love the finish it gives, No lines no streaks absolutely flawless application. This is very good to apply cream blushes also.
My rating: 5/5
will I purchase this again : Ha ha! I already have one more.
Availability : Buy Here
Hello Everyone. Christmas is just around the corner, We can see the celebrations coming up. Here is a step by step tutorial to create a gorgeous grey smokey eye tutorial which is perfect for Christmas parties. Without any delay lets get started.
This is the before after of the look i created. If you like this please read ahead.
Tip: Do your foundation after creating a smokey eye to clear and cover the damage caused by fall outs.
Step 1: Prep and Prime your lids with any eye gel or simply some moisturizer
Step 2: Use a concealer to cover the dark circles and to brighten up the under eye area. Follow with a powder to set the concealer in place.
Step 3: From here starts the eye makeup. Use a kohl pencil all over your lid making sure you keep that under your crease area. You need not be careful in this because you will smudge the corners of this using a blending brush. I used lakme absolute Kohl ultimate for the following step and a fluffy brush to blend the edges
Step 4: Apply a grey color to the eyelid leaving the inner 1/4th and the outer 1/4th of the eye using a flat shader brush
Step 4: Take a black eyeshadow and apply it to inner and outer parts and slightly join them by running some color in the crease area.
Step 5: Line your lower water line using the same kohl pencil
Step 6: Just like the upper lid. apply grey shadow in between black eye shadows in the lower line too.
Step 7: To add some warmth, Take a purplish pink eyeshadow and slightly blend it in your crease. This will instantly lift up the eye.
Step 8: Line your eyes using a gel eyeliner and lower water line with a kohl pencil.
Step 8: Fill in your brows using a brown or black color. here i am using an eyeshadow called endless taupe to fill my brows
Step 9: Apply highlighter and mascara. I am using my favorite highighting color called Ricepaper by MAC as highlighter
Step 10: This is optional. I applied some false lashes for that dramatic effect.
The final look.
I hope you like this. Merry Christmas every one.
Love,
Mounika Roches.
Hello lovelies, Let me review my miracle brush to you today. Every makeup artist have one miracle brush of their own choice. May be because they love working with it, may be its multifunctional, may be it is affordable or may be it has the cutest packaging (yes, we all judge the packaging too). Well, My miracle brush is MAC217
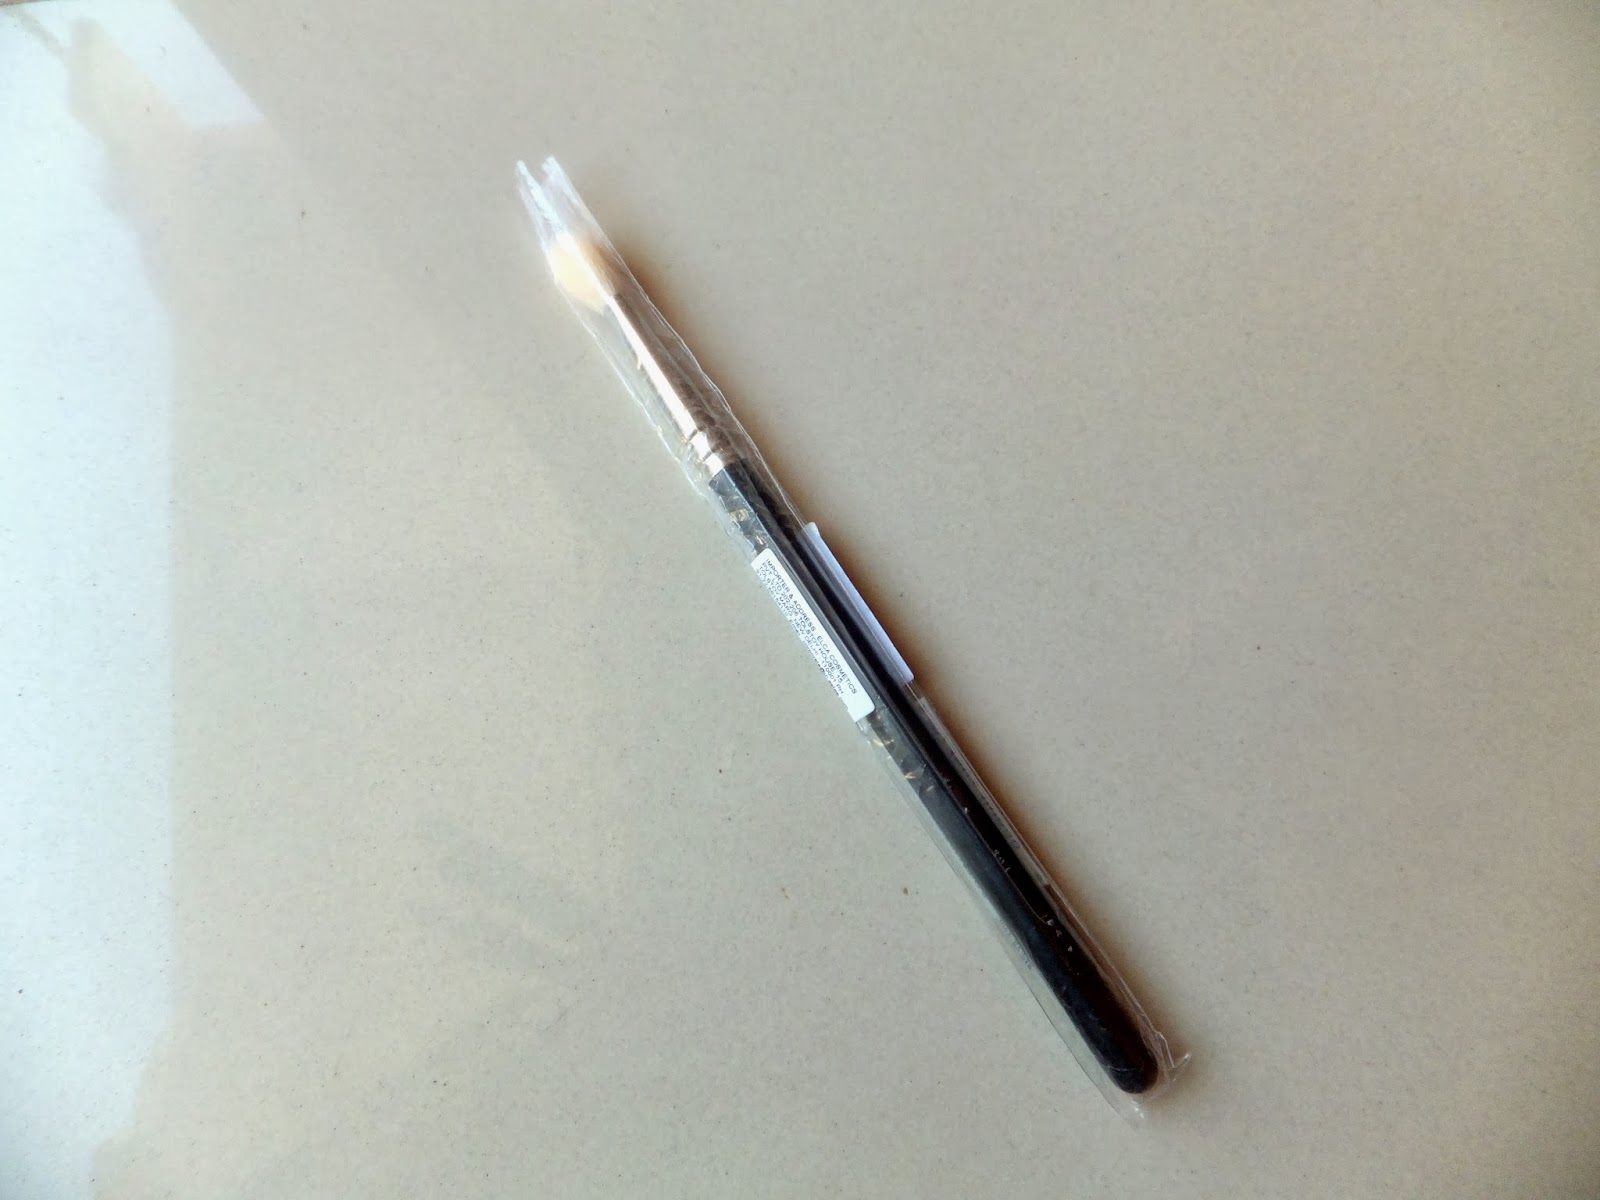
MAC 217 is a blending brush for eyeshadows. It is the best blending brush ever. It doesn't shred a strand and is very easy to blend the eyeshadow. The goat hair bristles apply powder and cream with ease and perfection.
Let me tell you 5 ways how I use this brush:
Over all eye shadow brush:
This works amazing to pick up a color to apply all over your lid. It works amazing for this. It is very smooth and applies the color with ease.
Blending the color:
This is what it is supposed to do and trust me it is very good at this. It softens harsh lines and blends color like magic. Very very effective to apply the crease color.
Contouring the nose:
I donno what others use for contouring their nose but for me this is the only one I reach for. every time.
This is small and precise and glides on smoothly. This is very effective and blends the contour color with ease.
Concealing the under eyes:
This works wonders for the under eye concealing. It doesn't apply pressure on the delicate area and conceals the under eye with an airbrush finish. It is not only smooth and gentle but also effective. you can apply powder for the concealer to set in place,
Highlighting:
This is precise and perfect for highlighting your cheek bone, nose, cupids bow and chin.
You can swirl the brush in highlighter and keep blending it on the desired areas.
Price: I got mine for 1650/-
I know it is very costly for a brush but trust me it is worth the price and brushes are a good investment. They work for almost 10 years with ease.
Cheaper Alternatives:
Though I recommend Mac 217 it may not be affordable for everyone to buy this for whatsoever reason it may be. i give you four affordable options which are quite similar to this brush.
1. Coastal scents in 250 - Buy Here
2. Colorbar Blending Brush - Buy Here
3. Body shop Blending Brush - Buy Here
4. ELF Blending Brush - Buy Here
Elf is lot cheaper in other countries so you can ask any friend of yours to send the brush which would be just 1$
Love,
Mounika Roches


 Step 4: Take a light purple colour and blend it using a blending brush into your outer one third and in to your crease


 Step 7: Taking a slanted eyeliner brush follow the same color pattern in the lower lash line.
 Step 9: Apply some glitter on your eyelid leaving the outer corner.


 Step 13: Apply false lashes and mascara.
 Step 14: Since it is party look I added a star with eyeshadow and also intensified the eye shadows by touching it up once again.


 I hope you like this.