Hello Everyone,
If there is anyone out there who don't know about the brand INGLOT then you are definitely missing out on something. As I come from hyderabad there is no Inglot store out here and most of us don't know about the brand. I came across the brand some time back while surfing and was amazed to see the positive reviews it got. I felt the prices are not too low and are almost equal to MAC. Inglot have their new range called as freedom system where you can buy refill pans which are super affordable. You cannot buy refills directly from the store unless you have a palette of their own but they are available online at Majorbrands.com. Most of the bloggers who don't have a palette make notes of shades they want from the store and buy them online. Inglot doesn't have names it has numbers.

My take on the product:
I recently brought few eye shadows and a blush refills from the site and I must say I love the blush.
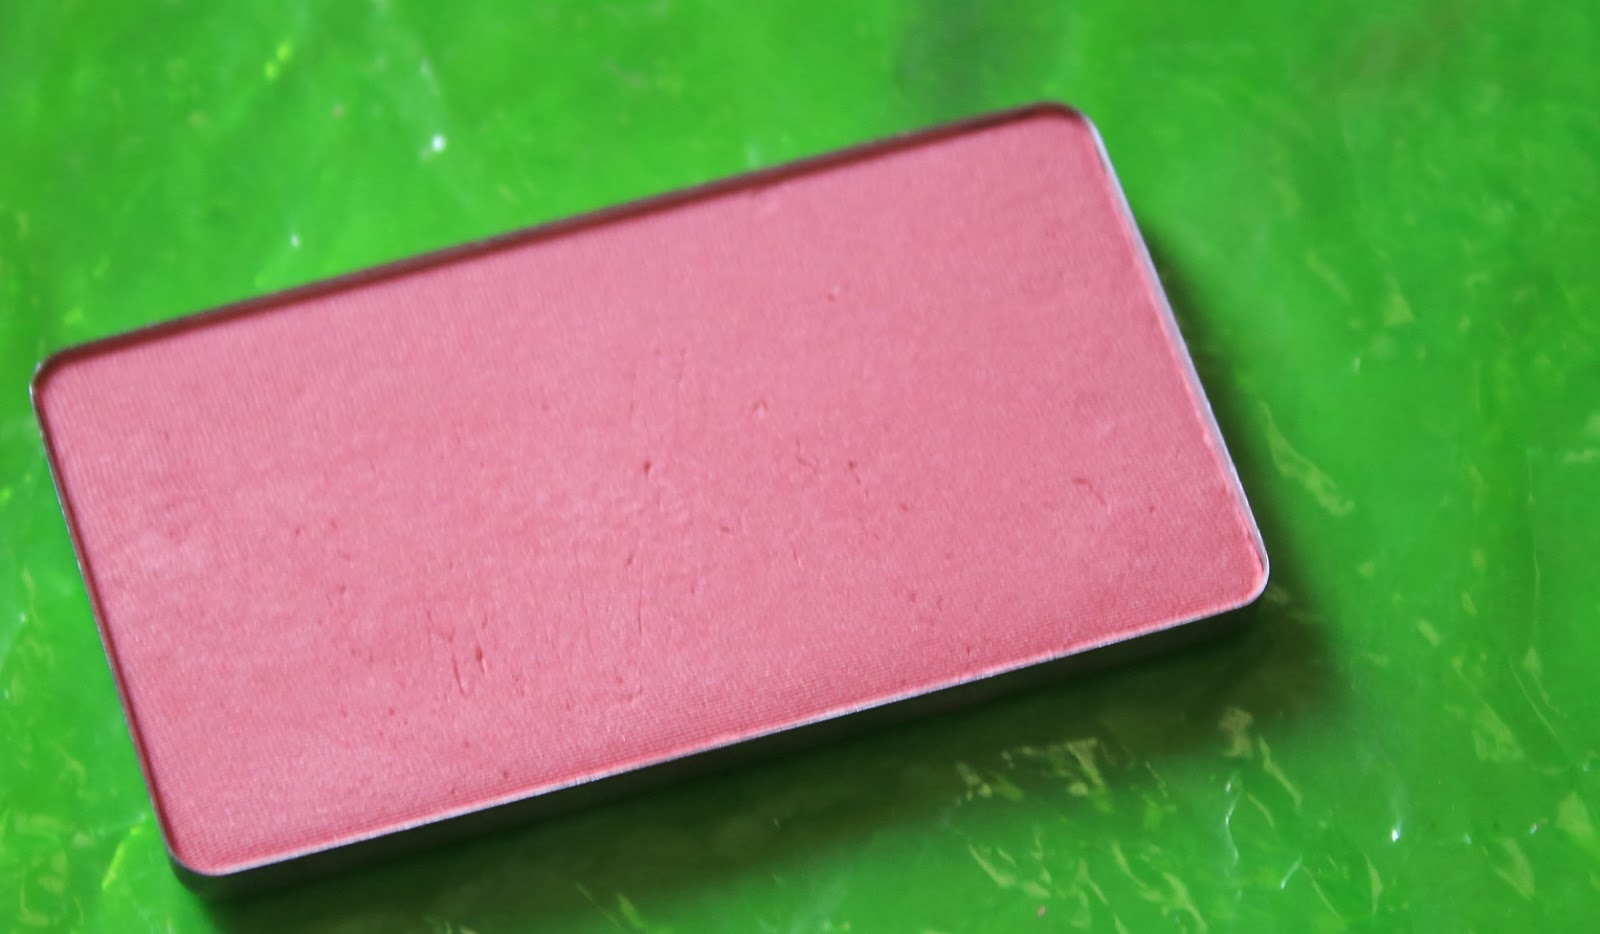
The packaging is sleek and is in a rectangular form.
The blush seems like a satin finish one but when applied it is matte. I prefer matte blushes to shimmer ones so I completely adore it.
The color suits almost every Indian skin tone. It instantly warms up the shade when applied.
The texture smooth, soft and velvety but with minimal fall out.
I love the color pay off. The blush is extremely pigmented and a tiny amount is enough to add that pink flush to your cheeks. It stays on for a quite a bit of time.
Over all I think this is one of the best blushes available in the market. If you are a blush lover like me then this is a must try.
Price : 350/-
Quantity : 6 grams. (says 7 grams on the site)
Buy it : Here
Pictures:



Pros:
Highly pigmented
Texture is very soft
Minimal fallout
Affordable
Super Blendable
Not tested on animals.
Cons:
Availability
A palette is required.
Final words:
Refills are affordable but they are a pain to store.Make your own magnetic palette like I did or go for the trusty Z-palette. You can store other eye shadows and blush refills like that of MAC or any other brands. You can also depot bulky packaging and use them to reduce the space. I pretty much liked the refill as I already prepared a magnetic palette. The color is extremely suitable for Indian skin tones so if you are having a tough time choosing a blush for yourself blindly opt for this.
Rating : 4.5/5
If there is anyone out there who don't know about the brand INGLOT then you are definitely missing out on something. As I come from hyderabad there is no Inglot store out here and most of us don't know about the brand. I came across the brand some time back while surfing and was amazed to see the positive reviews it got. I felt the prices are not too low and are almost equal to MAC. Inglot have their new range called as freedom system where you can buy refill pans which are super affordable. You cannot buy refills directly from the store unless you have a palette of their own but they are available online at Majorbrands.com. Most of the bloggers who don't have a palette make notes of shades they want from the store and buy them online. Inglot doesn't have names it has numbers.
My take on the product:
I recently brought few eye shadows and a blush refills from the site and I must say I love the blush.
The packaging is sleek and is in a rectangular form.
The blush seems like a satin finish one but when applied it is matte. I prefer matte blushes to shimmer ones so I completely adore it.
The color suits almost every Indian skin tone. It instantly warms up the shade when applied.
The texture smooth, soft and velvety but with minimal fall out.
I love the color pay off. The blush is extremely pigmented and a tiny amount is enough to add that pink flush to your cheeks. It stays on for a quite a bit of time.
Over all I think this is one of the best blushes available in the market. If you are a blush lover like me then this is a must try.
Price : 350/-
Quantity : 6 grams. (says 7 grams on the site)
Buy it : Here
Pictures:
Pros:
Highly pigmented
Texture is very soft
Minimal fallout
Affordable
Super Blendable
Not tested on animals.
Cons:
Availability
A palette is required.
Final words:
Refills are affordable but they are a pain to store.Make your own magnetic palette like I did or go for the trusty Z-palette. You can store other eye shadows and blush refills like that of MAC or any other brands. You can also depot bulky packaging and use them to reduce the space. I pretty much liked the refill as I already prepared a magnetic palette. The color is extremely suitable for Indian skin tones so if you are having a tough time choosing a blush for yourself blindly opt for this.
Rating : 4.5/5