
Hello ladies.
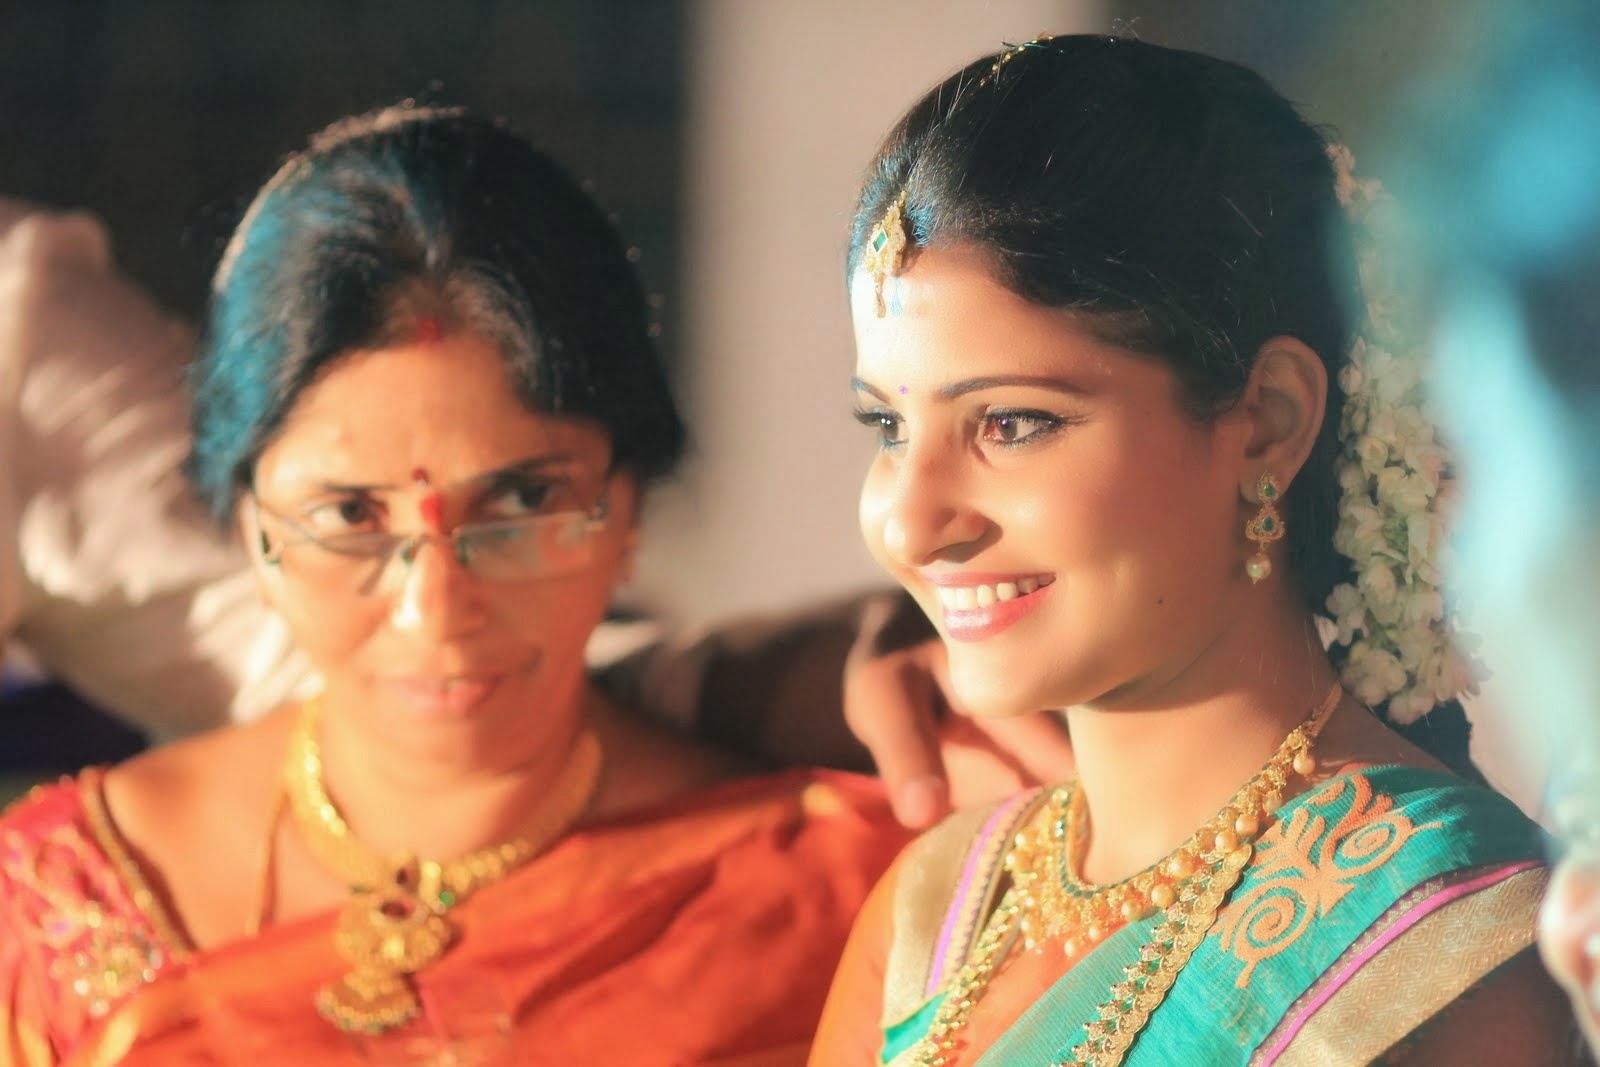
Today I am going to do a step by step look break down of a beautiful bride to be named sravya. I got this lovely oppurtunity to do her engagement day makeup. Here we go in to the details.
Sravya has got absolutely healthy skin with no pigmentation marks. She has got amazingly a spot free skin without dark circles even. Having such beautiful canvas it is exciting and very easy to work with.
This is absolutely no make up face of Sravya

Step 1 : Primer
Sravya already had her moisturizer on so I started off by using a primer. You can use any primer, I used Nyx photogenic primer in purple. A primer mattifies your skin and holds your makeup for a very long time since it is her engagement she has to carry even look all over the event so a pimer is a must for her. I use primer with my clean fingers for an even flawless look. For detailed descriptions about primers read my post here.
 Step 2: Foundation
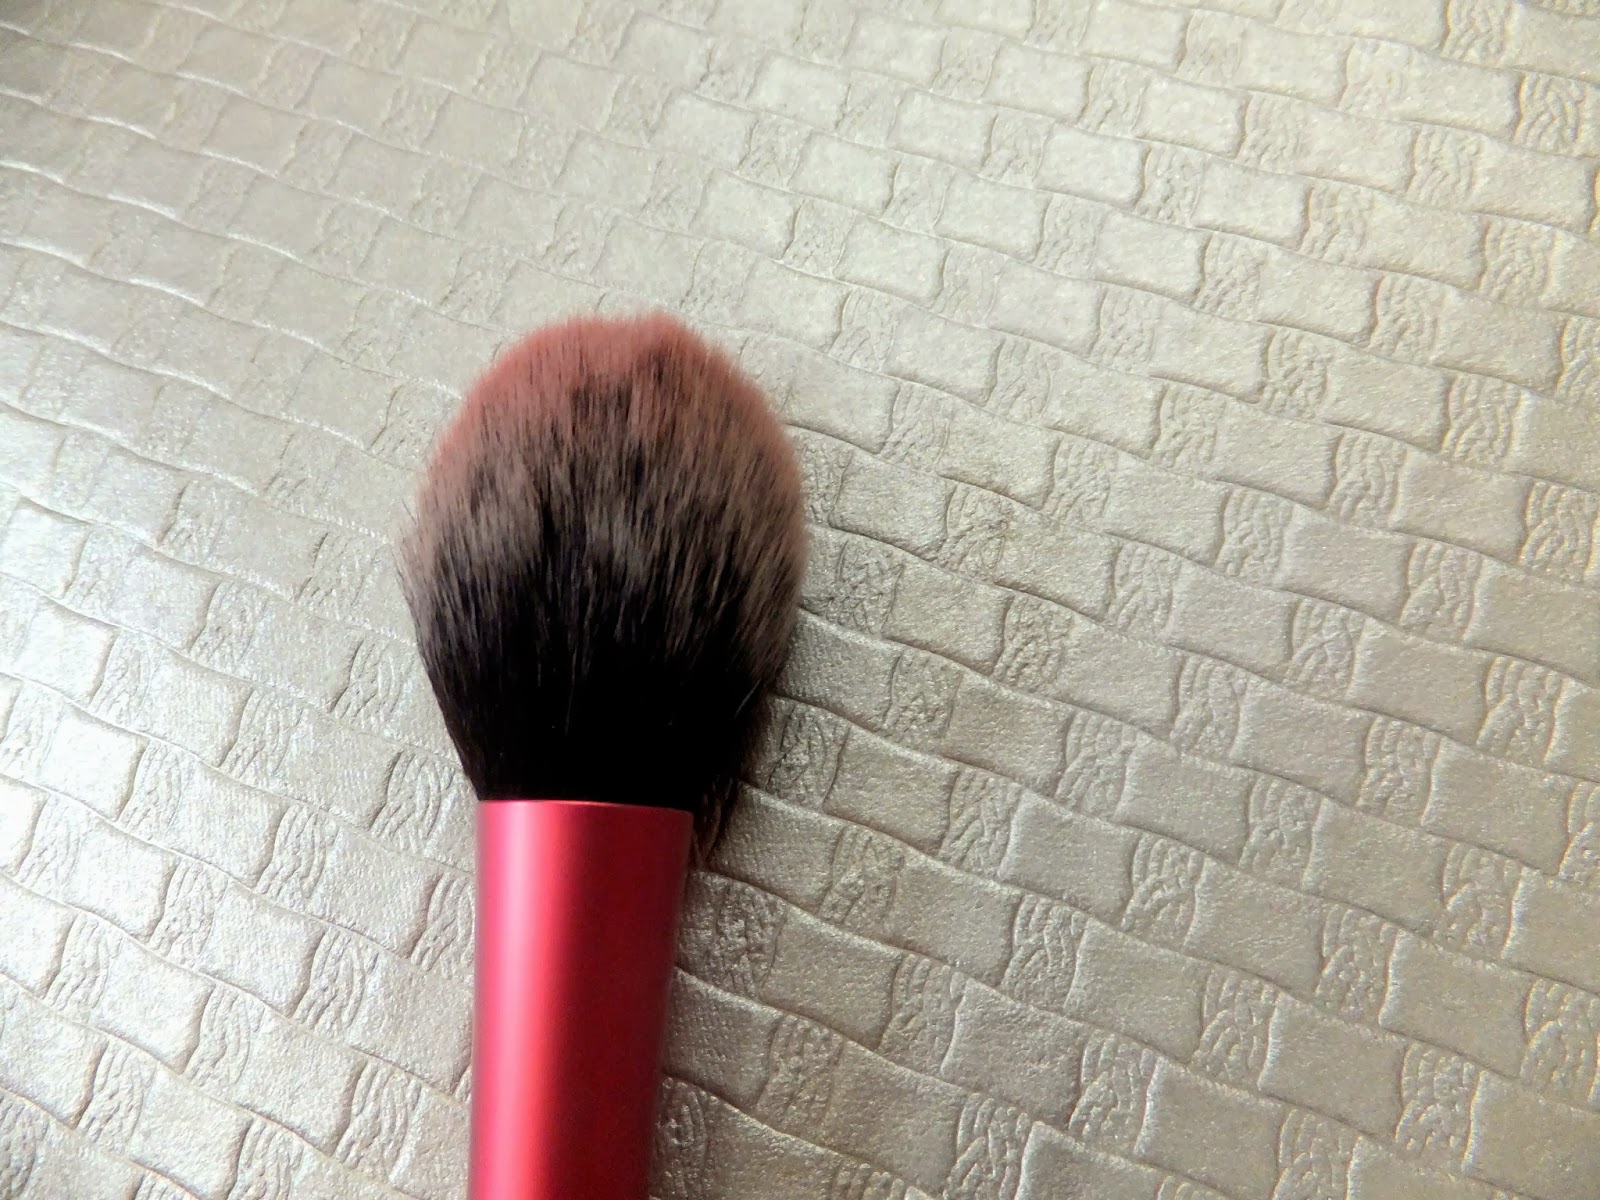
Since you know my makeup is exclusively made compatible for SLR photography I mixed up a couple of foundations to match Sravya's skin tone. I made sure that the foundation has yellow undertones to add that extra traditional tint to the entire face. For your personal use you can use one single foundation. I used an expert face brush by Real techniques to apply the foundation and buffed it in using a stippling brush from the same brand. It is very important to have a clean finish foundation otherwise you may end up looking cakey and artificial. Blend until you attain a seamless finish


Step 3: Concealer
I used very tiny amount of colorbar concealer in a pot in the shade natural to just cover her under eye area. She dint require any coverage and just needed an even finishto her skin. I used my most favourite concealer brush from ELF cosmetics called flawless concealer brush of their studio collection
.


Step 4: Powder
To seal all the creams you must follow with a powder. Since you are in between heavy lights there is a 100% chance of sweating too much and oil secretions on your skin. I used my trysty stay matte powder by Rimmel which absorbs oils and gives you a matte look which is very flattery than the oily face.


Step 5: Eye makeup
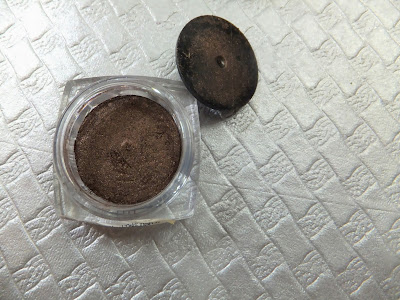
I used this particular eyeshadow from my coastal scents eyeshadow pallet all over the lid as a base after applying eye primer. I then used this pigment from faces exactly on the center of the eye where it catches light. I followed it up by using another eyeshadow from L'Oreal called endless chocolate on the outer thirds of the eye slowing taking it in to the crease. I took a cleaning blending brush by body shop to blend the harsh lines and build up the transition between the colors. All the shades i used had shimmer in them so i decided to use a matte cream eyeshadow from the same coastal scents pallet to highlight the brow bone and inner corners.



Step 6: Lower lash line and eyeliner
For the lower lash line I wanted to use a pop of color since the whole eye make up was a very neutral. I decided to use green since it matched her saree. I used a metallic green color eye sparkle from Elle 18 on her lower lash line. To prevent it from creasing and to make it last longer i used a green eyeshadow on top of it from my motives pallete.I used revlon colorstay one stroke defining eyeliner to tightline and waterline her eyes. I used loreal paris gel eyeliner in black on her upper lash line using my elf studio eyeliner brush.


Step 7: Mascara:
I curled her lashes using colorbar lash curler and then coated her eyelashes with several mascara's. Thick eyelashes add that extra oomph to the eyes and I dont recommend using false lashes on spoecial ocasions because if they fall off then you end up in great embarrasment. I used three different mascara's for this look.


Step 8: Eye brows.
I used an angled brush to fill her eyebrows using dark brown eyeshadow from coastal scents. I then used a spooky to blend the shadow with the natural hair and set it in place using a brow gel.

Step 9: Line your lips and fill them in
I used a lipliner from lakme absolute to line and fill in the lips. It is warm pink coor which looks flattering on almost all indian skin tones. And then I used this red from my coastal scents 32 lip pallete in the center of her lips for that fuller lips effect. I did not use any gloss since matte's look amazing on indian skin tone's according to me.


Step 10: Highlighting and Blush.
I used a colorbar blush on her cheeks for that bridal blush effect and Inglot highlighter on high points of her face, like cheeks bones, brow bones cupids bow and bridge of the nose,for that extra glow.


.JPG)

I hope you like this look.
For any queries and suggestions contact me on style.camera@gmail.com
You can like my facebook page here.
Love,
Mounika Roches.
Today I am going to do a step by step look break down of a beautiful bride to be named sravya. I got this lovely oppurtunity to do her engagement day makeup. Here we go in to the details.
Sravya has got absolutely healthy skin with no pigmentation marks. She has got amazingly a spot free skin without dark circles even. Having such beautiful canvas it is exciting and very easy to work with.
This is absolutely no make up face of Sravya

Step 1 : Primer
Sravya already had her moisturizer on so I started off by using a primer. You can use any primer, I used Nyx photogenic primer in purple. A primer mattifies your skin and holds your makeup for a very long time since it is her engagement she has to carry even look all over the event so a pimer is a must for her. I use primer with my clean fingers for an even flawless look. For detailed descriptions about primers read my post here.

Since you know my makeup is exclusively made compatible for SLR photography I mixed up a couple of foundations to match Sravya's skin tone. I made sure that the foundation has yellow undertones to add that extra traditional tint to the entire face. For your personal use you can use one single foundation. I used an expert face brush by Real techniques to apply the foundation and buffed it in using a stippling brush from the same brand. It is very important to have a clean finish foundation otherwise you may end up looking cakey and artificial. Blend until you attain a seamless finish


Step 3: Concealer
I used very tiny amount of colorbar concealer in a pot in the shade natural to just cover her under eye area. She dint require any coverage and just needed an even finishto her skin. I used my most favourite concealer brush from ELF cosmetics called flawless concealer brush of their studio collection
.


Step 4: Powder
To seal all the creams you must follow with a powder. Since you are in between heavy lights there is a 100% chance of sweating too much and oil secretions on your skin. I used my trysty stay matte powder by Rimmel which absorbs oils and gives you a matte look which is very flattery than the oily face.


Step 5: Eye makeup
I used this particular eyeshadow from my coastal scents eyeshadow pallet all over the lid as a base after applying eye primer. I then used this pigment from faces exactly on the center of the eye where it catches light. I followed it up by using another eyeshadow from L'Oreal called endless chocolate on the outer thirds of the eye slowing taking it in to the crease. I took a cleaning blending brush by body shop to blend the harsh lines and build up the transition between the colors. All the shades i used had shimmer in them so i decided to use a matte cream eyeshadow from the same coastal scents pallet to highlight the brow bone and inner corners.


Step 6: Lower lash line and eyeliner
For the lower lash line I wanted to use a pop of color since the whole eye make up was a very neutral. I decided to use green since it matched her saree. I used a metallic green color eye sparkle from Elle 18 on her lower lash line. To prevent it from creasing and to make it last longer i used a green eyeshadow on top of it from my motives pallete.I used revlon colorstay one stroke defining eyeliner to tightline and waterline her eyes. I used loreal paris gel eyeliner in black on her upper lash line using my elf studio eyeliner brush.


Step 7: Mascara:
I curled her lashes using colorbar lash curler and then coated her eyelashes with several mascara's. Thick eyelashes add that extra oomph to the eyes and I dont recommend using false lashes on spoecial ocasions because if they fall off then you end up in great embarrasment. I used three different mascara's for this look.


Step 8: Eye brows.
I used an angled brush to fill her eyebrows using dark brown eyeshadow from coastal scents. I then used a spooky to blend the shadow with the natural hair and set it in place using a brow gel.

Step 9: Line your lips and fill them in
I used a lipliner from lakme absolute to line and fill in the lips. It is warm pink coor which looks flattering on almost all indian skin tones. And then I used this red from my coastal scents 32 lip pallete in the center of her lips for that fuller lips effect. I did not use any gloss since matte's look amazing on indian skin tone's according to me.


Step 10: Highlighting and Blush.
I used a colorbar blush on her cheeks for that bridal blush effect and Inglot highlighter on high points of her face, like cheeks bones, brow bones cupids bow and bridge of the nose,for that extra glow.


.JPG)
I hope you like this look.
For any queries and suggestions contact me on style.camera@gmail.com
You can like my facebook page here.
Love,
Mounika Roches.


